
I was standing in my 28x32 pole barn when the contractor handed me the quote. $17,999. To insulate a building I'd built myself with my own two hands. I actually laughed out loud.
If you're facing the same situation — or you're in the planning stages of a pole barn build and trying to figure out what insulation is going to run you — this post is going to save you a serious amount of money. I'm talking about getting a higher R-value than the $18,000 foam option for right around $1,800. And I did it myself in about 25–30 hours.
Here's exactly how I did it, what it cost, and why the math on spray foam doesn't add up the way contractors want you to think it does.
The $17,999 Quote That Made Me Laugh Out Loud
When I got contractor quotes for my pole barn insulation cost, every option on the table involved spray foam in some form. Here's what they looked like:
- Option 1 — Full Closed Cell Foam: 2 inches in the walls, 3 inches in the roof. Total R-value: R12 to R14. Price: nearly $18,000.
- Option 2 — Full Open Cell Foam: 3.5 inches in the walls, 5–6 inches in the roof. Same R-value result — R12 to R14. "Discounted" to $12,000.
- Option 3 — Pro Hybrid: Closed cell foam in the critical areas, then I go buy and install the fiberglass myself. Still $8,000. And I'm doing half the labor.
Every single option topped out at R12 to R14. That's it. And the cheapest one still required me to buy and install additional insulation on my own time and dime. I did the research, ran the numbers, and walked away.
Why Spray Foam Isn't Always the Answer
Look — I'm not anti-foam. Foam has a real job to do and it does it well. But that job is sealing, not insulating. When a contractor sells you a full foam job on a pole barn, they're charging you premium prices for a product being used in a role where fiberglass flat-out beats it on R-value per dollar.
Here's why each option fell short.
Closed Cell Foam — The Most Expensive Option
Closed cell foam runs about R6 to R7 per inch. At 2 inches in the wall and 3 inches in the roof, you're hitting R12 to R14 total. For nearly $18,000. In a pole barn that already has house wrap on it, you're paying a fortune to seal a wall that's already sealed. According to Family Handyman's spray foam guide, closed cell foam is most valuable as an air and moisture barrier — not as a primary thermal solution in larger structures.
Open Cell Foam — Cheaper, Still Not Enough
Open cell runs lower — around R3.5 per inch. You get more volume for the price, but the R-value still lands in that same R12 to R14 range. At $12,000, it's a better deal than closed cell — but still not a good deal.
The Pro Hybrid — Still $8,000 and You Do Half the Work
This one really got me. The "hybrid" approach uses closed cell in the critical spots and fiberglass everywhere else. Sounds smart. But they still quoted $8,000 — and I still had to buy and install the fiberglass myself. I'm paying them $8,000 for a partial foam job and then finishing the work on my own. No thanks.
My $1,800 DIY Pole Barn Insulation Solution (Step by Step)
My barn is 28x32 — roughly 2,600 to 2,800 square feet of insulation surface between the walls and ceiling. The plan was simple: use foam the way it's designed to be used for sealing air gaps, and let R19 fiberglass do the heavy lifting everywhere else.
Step 1 — Seal the Critical Areas First
Before a single piece of fiberglass went up, I grabbed a Krakabond Complete DIY Foam Kit — everything comes in the box: gloves, eye protection, mask, suit, the gun, fast coat cans, silicone, and caulk. Solid kit. The foam has come a long way — easy to use and way better value than hiring it out.
I focused the foam on four critical areas:
- Electrical boxes and wire penetrations — every hole I drilled for wiring got filled with fire-rated low-expansion foam
- Windows and doors — gaps sealed with foam or silicone depending on the available space
- Wall seal plates — that 2x4 flat on the concrete is one of the biggest air leak culprits in any pole barn. I foamed every inch of it across the entire perimeter
- Top of wall / rim joist area — where the wall meets the roof is where most of your air escapes. I hit this area heavy
Step 2 — Install R19 Fiberglass in the Walls
I went with R19 kraft-faced fiberglass batts — 23 inches wide to fit my stud cavities nice and tight. The kraft paper facing doubles as a vapor barrier, which saved me from running plastic sheeting across the whole barn solo. That stuff is miserable to handle by yourself.
One installation detail that matters: staple the kraft paper flange to the inside face of the stud, not the side. Why? Because when it's time to hang your finished wall, you can still see the stud. Small detail, big time-saver later.
For cavities with wiring running through them, split the batt in half, tuck one piece behind the wire, and lay the other piece on top. Takes a little extra time but keeps the wire centered in the cavity where it belongs — and you're not driving a nail through it six months later.
Step 3 — Tackle the Ceiling Solo
This is where most one-man pole barn insulation jobs get ugly. Holding a 12-foot batt overhead while trying to staple it is a nightmare. My fix: screw a 2x4 to the bottom of the rafters as a temporary ledge. Set the batt on it, get it positioned, then staple. Simple. Effective. No helper needed.
2 inches of foam in the critical ceiling zones gives me R11 minimum — sometimes R15. Stack R19 fiberglass right up against it and those areas hit R28 to R30. That's the best thermal performance on my whole list — including the $18,000 option.
The Real R-Value Comparison (The Math They Don't Want You to See)
Here's the side-by-side. No spin, no sales pitch — just the numbers.
| Option | R-Value | Cost |
|---|---|---|
| Full Closed Cell Foam | R12–R14 | ~$18,000 |
| Full Open Cell Foam | R12–R14 | ~$12,000 |
| Pro Hybrid | R14–R16 | ~$8,000 |
| My DIY Method | R28–R30 (critical areas) | ~$1,800 |
I have the highest R-value of any option on that list. At a tenth of the price. People foam because it looks impressive and sounds technical. The math just doesn't back it up — especially on a pole barn that's already wrapped.
What It Actually Cost Me — Every Dollar
Here's the full breakdown, nothing hidden:
- R19 Kraft-Faced Fiberglass Batts — bulk of the material cost, covering walls and ceiling of a 28x32 barn
- Krakabond Complete DIY Foam Kit — foam, gun, safety gear, silicone, caulk, all in one box
- Staple gun + T50 staples
- Hupar measuring tool
- Total: just under $1,800
Time invested: 25–30 hours spread over several days. For the money saved — over $16,000 compared to the cheapest full-foam quote — that works out to hundreds of dollars per hour. I'll take that trade every single time.
Want to see exactly how I did this — foam sealing, fiberglass install, the ceiling solo trick, the final R-value breakdown? I filmed the whole thing. Watch the complete video and see every step start to finish.
Watch It on YouTube →While you're there, hit subscribe — I share 27+ years of trades knowledge with no filler and no fluff.
FAQ — Pole Barn Insulation Questions Answered
What is the best insulation for a pole barn?
For most climates in the US, R19 kraft-faced fiberglass batts in the walls and ceiling — combined with spray foam on the critical sealing points like seal plates, rim joists, and electrical penetrations — gives you the best R-value per dollar. It's what I used on my own 28x32 barn and the numbers back it up.
Is spray foam worth it for a pole barn?
Not as your primary insulation — no. Spray foam is excellent for sealing air gaps around windows, doors, electrical boxes, seal plates, and rim joists. But as a full-wall insulation solution, you're paying a massive premium for an R-value that fiberglass beats easily. Use foam where it belongs — sealing — and let fiberglass handle the thermal work.
How much does it cost to insulate a pole barn?
Contractor quotes for spray foam typically run $8,000 to $18,000+ depending on the method and size of the building. DIY with fiberglass batts and a foam sealing kit can bring that number down to $1,500–$2,500 for a barn in the 800–900 square foot footprint range — with a higher R-value than most pro options.
Can I insulate a pole barn myself?
Absolutely — and it's one of the easier jobs on a build like this. The fiberglass install is straightforward, the foam sealing is almost fun, and the hardest part is the ceiling — which becomes totally manageable with a simple temporary ledge trick. I did my entire 28x32 barn solo in about 25–30 hours.
What R-value do I need for a pole barn?
It depends on your climate and how you plan to use the space. For central Indiana (my location), R19 in the walls and ceiling gets the job done for a working shop or storage barn. If you're heating and cooling year-round or you're in a more extreme climate, aim for R21–R30 in the walls and R38+ in the ceiling. Either way, the DIY fiberglass method gets you there for a fraction of the spray foam cost.
Build it from the plans
Insulating a barn you
haven’t built yet?
Then the framing decision comes first. I framed my 28x32 with bookshelf girts specifically because they give you deeper wall cavities and an easier air seal at the posts — which is a big part of why the insulation went in as cheaply as it did. The full plan set walks all 75+ steps with the complete material list.
- 30 printable pages
- 75+ numbered steps
- Full material list
- Bonus SketchUp file
Instant PDF download. Drawn from the real 28x32 build, not a generic drawing.
As an Amazon Associate I earn from qualifying purchases. Some links in this post are affiliate links — if you buy through them, it costs you nothing extra.
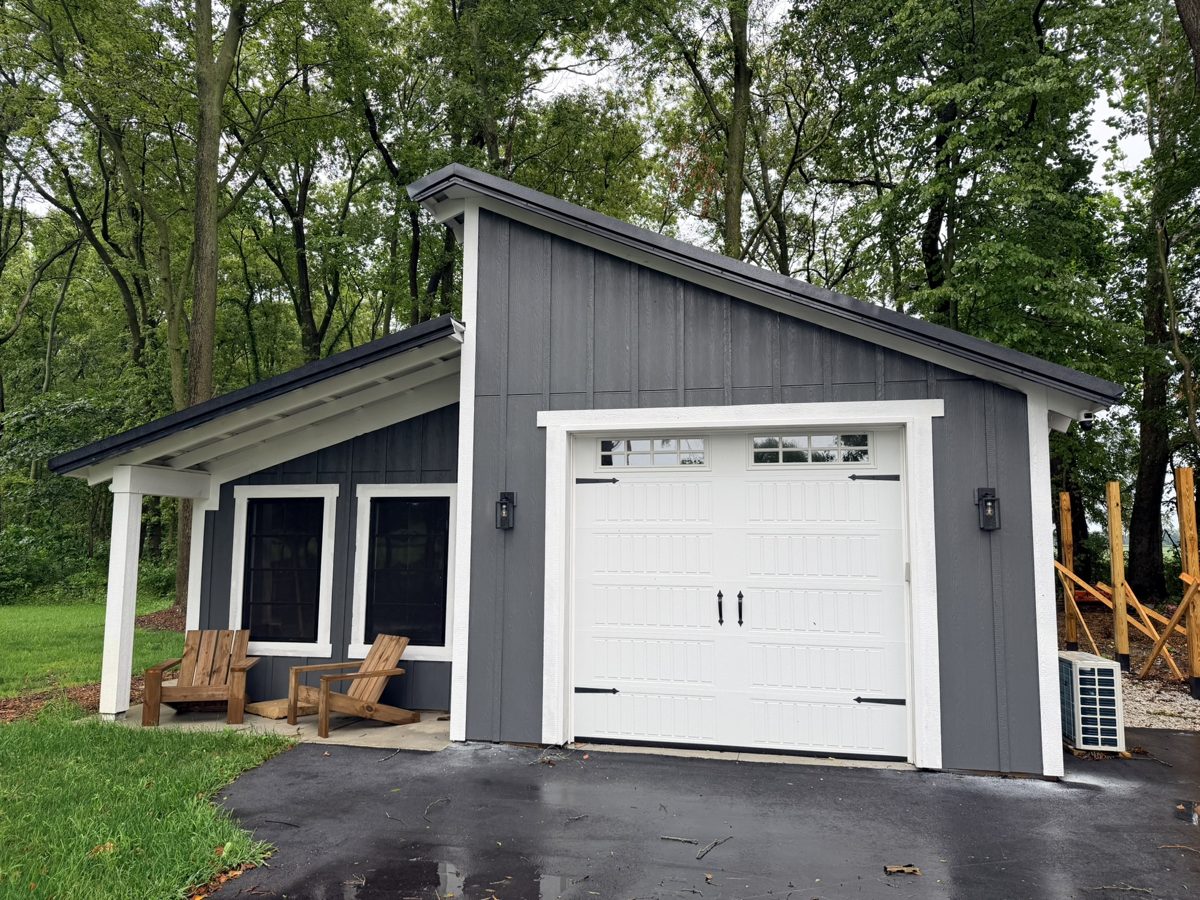
28x32 Pole Barn Plans
The complete plan set from my real build. Two-bay layout, bookshelf girts, optional front and rear porches.