
If you're building a pole barn and you haven't thought hard about your girt method, you're about to make a very expensive mistake. The framing method you choose on day one will determine how hard it is to insulate, finish the interior, and hang weight on your walls — for the life of the building.
Most budget builds default to traditional flat-nailed girts because that's what the contractor knows. But bookshelf framing — also called commercial girts — is the smarter choice for almost any DIYer who plans to finish or use their space. This post breaks down exactly what each method is, what it costs, and which one you should actually use.
Choosing your framing method after the shell goes up costs you time, extra lumber, and in some cases forces a full interior reframe. Decide before you dig the first post hole.
What Are Pole Barn Girts — And Why Do They Matter?
Girts are the horizontal framing members that run post-to-post on your pole barn walls. They do three jobs: they give your steel siding something solid to screw into, they provide lateral wall support, and — depending on the method — they give you a nailing surface for interior sheathing.
That last part is where everything changes. Traditional girts and bookshelf girts handle it very differently.
Traditional (Flat-Nailed) Girts
The standard method: 2×6 boards nailed flat to the outside face of the posts, running horizontally every 24–36 inches. Fast to install, easy for contractors who learned it decades ago, and perfectly fine if you're building a basic storage barn you never plan to insulate or finish.
Bookshelf (Commercial) Girts
Here's where it gets smart. Bookshelf girts sit between the posts — notched in or supported on bearing blocks — with the wide face of the board running vertical, oriented like books on a shelf. The girt is flush with the outer edge of the post on the exterior side and flush with the inner edge on the interior side.
This creates a T-shaped profile when combined with any blocking, gives you an insulation cavity, and most importantly: gives you a direct nailing surface on the inside of your wall without adding a second set of studs.
Bookshelf girts are standard practice in Western states (Washington, Idaho, Oregon) and are increasingly being spec'd by engineers in the Midwest and South. If you're pulling permits, ask your engineer — many will recommend them by default now.
Bookshelf vs Traditional Girts: Side-by-Side Comparison
| Factor | Traditional Girts | Bookshelf Girts | Winner |
|---|---|---|---|
| Installation Speed | Faster — nailed to post face | Slower — requires notching or bearing blocks | Traditional |
| Interior Finishing | Requires added interior studs | Direct nailing surface built-in | Bookshelf |
| Insulation Cavity | Shallow — limits R-value, hard to air-seal | Clean 5½" cavity — R-19 batts + foam at critical points | Bookshelf |
| Wind Resistance | Relies on nails for shear | Stronger shear transfer — engineered for 140+ mph | Bookshelf |
| Wall Racking | More flex under load | Significantly stiffer — T-structure resists racking | Bookshelf |
| Insulation Sag | 8-ft batt hangs vertically — can sag over time | Batts run horizontally — no pull, no sag | Bookshelf |
| Lumber Cost | Lower upfront | Slightly higher (2×6 or 2×8 between posts) | Traditional |
| Long-Term Value | Fine for open storage only | Superior for any finished or heated space | Bookshelf |
| Post Spacing Flexibility | Better with tighter post spacing | Works up to 12–16 ft on center | Bookshelf |
How to Install Bookshelf Girts: Step-by-Step
This is not complicated — it's just different from what most contractors default to. Here's the process for a standard bookshelf girt installation using 2×6 lumber on treated posts.
🛒 Materials You'll Need
- 2×6 or 2×8 wall girts (standard lumber)#2 or better
- 2×4 bearing blocks (cut to 22½")One per girt end, both sides
- Treated 2×8 splash/skirt boardUC4B — rated for ground contact
- Structural ring-shank nails (3" or 3½")For truss carriers and skirt board
- Common framing nails (16d)For girts and blocking
- Circular saw or miter sawFor bearing block cuts
- Framing square and levelNon-negotiable
- R-19 fiberglass batts (walls and ceiling)Fits 2×6 cavity at 22½"
- Spray foam (canned or 2-part kit)Critical air sealing — post bases, top plates, penetrations
Set Your Posts at Exact Building Width
Unlike traditional girts, bookshelf girts sit between the posts — so your posts need to be set at the exact outside dimension of the building. Don't inset them 1½" as you might with flat-nailed girts. Get this right now; it's a pain to fix later.
Cut and Install Your Bearing Blocks
Cut 2×4 bearing blocks to exactly 22½" long. Nail them flat against the post on both sides — front edge flush with the outer face of the post. These are the shelf that your girts rest on. Use at least 3 nails per block, driven into solid wood.
Lay Girts Flat Across the Bearing Blocks
Drop your 2×6 (or 2×8) girts horizontally across the bearing blocks between each pair of posts. Space them 24" on center, starting up from your treated splash board at the base. The flat face of the girt is now your nailing surface — on both the exterior and interior sides.
Notch Posts for Your Truss Carriers and Skirt Board
Your grade/skirt board and truss carriers (if applicable) need to be notched into the post face — cut 1½" deep so the lumber sits flush with the post. This keeps your siding plane flat. A circular saw with a sharp blade handles this cleanly.
Add Blocking Between Girts (Optional but Recommended)
For maximum shear strength and to prevent any long-term movement, add solid blocking between girts at mid-span or anywhere you want extra support. This is especially important if you're in a high-wind zone or planning a heavy interior finish like drywall.
Install Insulation Horizontally
Before the batts go in, hit every critical air leakage point with spray foam — post bases, top plate gaps, any penetrations for wiring or plumbing. Air sealing does more for thermal performance than R-value alone. Then cut your R-19 fiberglass batts to fit the horizontal cavity between girts. Because the batts run horizontally, there's no gravitational pull working against them — no sagging, no settling, no cold spots down the road.
Apply Exterior Siding and Interior Sheathing
Screw your steel siding to the girt faces on the exterior. On the interior, you can nail or screw OSB, plywood, or metal liner directly to the same girt faces — no extra stud wall required. This is the key payoff of the whole system.
Use spray foam first — seal every post base, top plate gap, and wire penetration before the batts go in. Then fill the cavity with R-19 fiberglass. That combo (air barrier + batt) outperforms R-30 batts in a leaky wall every single time.
Pros and Cons: The Honest Breakdown
Bookshelf (Commercial) Girts
✓ Pros
- Direct nailing surface for interior walls — no extra studs
- Deep insulation cavity — hit R-23 to R-30 easily
- Stronger lateral and shear resistance
- Insulation batts run horizontal — zero sag over time
- Works with wider post spacing (up to 16 ft OC)
- Interior and exterior walls framed simultaneously
- Better long-term performance in high-wind zones
✗ Cons
- More complex install — requires bearing blocks or notching
- Slightly more lumber cost upfront
- Fewer contractors familiar with the method
- Posts must be set at exact building width — no margin for error
Traditional (Flat-Nailed) Girts
✓ Pros
- Faster to install — nailed directly to post face
- Every contractor knows this method
- Lower upfront lumber cost
- Fine for open storage-only buildings
✗ Cons
- No interior nailing surface — you'll add a full second stud wall later
- Shallow insulation cavity — R-13 max without adding depth
- Vertical insulation batts can sag over decades
- Less racking resistance — nails carry shear load
- Creates redundant lumber costs when you go to finish
DIY Cost Comparison: Bookshelf vs Traditional
Here's a realistic material cost breakdown for a 28×40 pole barn wall system — similar to the build we covered in the HomePro Hero Pole Barn Build on a Budget Series. These are ballpark figures based on current lumber pricing in the US Midwest.
Interior finishing cost: $0 extra — nailing surface already built-in
Insulation: R-19 fiberglass batts + spray foam at critical points
Add $400–$600 for contractor labor if not DIY-ing the girts
Interior finishing cost: $800–$1,500 for added stud wall you wouldn't need with bookshelf
Insulation: Limited cavity depth — harder to air-seal at posts
Contractor labor typically $1,500–$2,500 for full framing
The DIY savings with bookshelf girts aren't just in the framing — they're in what you don't have to buy later. Skipping a full interior stud wall saves $800 to $1,500 on a typical build. That pays for your insulation and then some.
Building it yourself? These are the same bookshelf girts I framed my 28x32 barn with. The full plan set walks through all 75 steps — post setting, girts, purlins, roof and siding — with the complete material list.
Which Framing Method Should You Use?
Use Traditional Girts If:
You're building a no-frills storage barn that will never be insulated, never have interior walls, and you need it up fast on a tight budget. A machine storage shed or a hay barn where you're just keeping weather out — traditional girts are fine. Quick. Cheap. Done.
Use Bookshelf Girts If:
You have any intention of heating the space, finishing the interior, hanging tools or shelves on the walls, or ever converting the building to living or working space. That covers workshops, garages, barndominium shells, hobby rooms, and any pole barn you're going to spend real time in.
Honestly? If you're reading this blog, you're the bookshelf girt type. You're building something you care about.
The builder who says "standard girts are better for high winds" is often the builder who doesn't know how to install bookshelf girts. Bookshelf girts — when properly blocked and tied into the siding — can be engineered to handle 140+ mph wind loads. Don't let contractor preference drive your structural decision.
🎬 Watch It Get Built
We covered this exact framing decision during our 28×32 Pole Barn Build on a Budget Series on the HomePro Hero YouTube channel. Watch the wall system go together step by step — both methods shown in real time so you can see exactly why bookshelf wins.
Subscribe to HomePro HeroThe Insulation Advantage Nobody Talks About
This is where the bookshelf method really separates itself from the pack — and where most guys building their first pole barn leave real money on the table.
Vertical vs Horizontal Insulation
With traditional flat-nailed girts, your insulation batt has to span the full height between girts — often 8 feet of vertical run. Gravity works on that batt every single day for 30 years. Settlement happens. Cold spots develop. You lose R-value.
With bookshelf girts spaced 24" on center, your batts are cut to 22½" and laid horizontally in the cavity. Gravity isn't pulling on them. They stay put. They perform at rated R-value for the life of the building.
R-Value You Can Actually Hit
A 2×6 bookshelf girt gives you a 5½" deep cavity — a clean fit for R-19 fiberglass batts with no compression, no fudging. That's your wall spec and your ceiling spec, keeping the material list simple and consistent across the whole build.
But here's what most builders skip: R-value only tells half the story. A perfectly insulated wall with air gaps at the posts and top plate will still bleed heat all winter. That's why the real move is foam first — hit every post base, every penetration, every gap at the framing with spray foam before the batts go in. Seal the air leaks, then insulate. That one-two punch will outperform a higher R-value in a leaky wall every time.
Try getting that level of control with traditional flat-nailed girts. You can't — not without building a second interior wall system that costs another $1,000+ in lumber and labor.
Common Questions From DIY Builders
Can I add bookshelf girts after the shell is already up?
Yes — but it's more work. You'll need to install the bearing blocks and fit the girts in after the exterior is on. It's doable, especially if you're doing the interior finish yourself after a contractor builds the shell. Just make sure the exterior girts aren't in the way before you frame from the inside.
What lumber size should I use — 2×6 or 2×8?
For a standard insulated build using R-19 batts, 2×6 bookshelf girts are your sweet spot — the cavity depth is a perfect fit with no compression. A 2×8 gives you extra depth if you want to stack foam board on the interior side down the road, but for most DIY pole barns, 2×6 hits the mark without the added cost.
Do I need to double the girts?
Not necessarily. Single 2×6 bookshelf girts, properly blocked, handle most standard residential and agricultural wind loads. If you're in a high-wind exposure zone (Exposure C) or building taller than 14 feet, talk to an engineer — but doubling is rarely required for typical Midwest or Southern builds.
What about post spacing — does it matter for bookshelf girts?
Yes, but in a good way. Bookshelf girts actually perform well at wider post spacing than traditional girts — some builders run posts every 12 feet and even 16 feet on center with engineered glulaminated columns. That means fewer holes to dig and fewer posts to buy. Another win.
The Bottom Line
If you're building a pole barn to actually use — whether that's a workshop, a garage, a barndominium shell, or a hobby space — bookshelf framing is the smarter choice. Period.
Yes, it takes slightly more time and thought upfront. But it pays you back every step of the way: no second stud wall, better insulation performance, stronger walls, and a finished interior that goes up clean the first time.
Traditional flat-nailed girts have their place — basic agricultural storage, open sheds, anything you're never going to insulate. For everything else, do it right from the start.
Your future self — the one standing in a heated, finished shop in February — will be glad you did.
Ready to Build It Right?
Watch the full Pole Barn Build on a Budget Series on HomePro Hero — we walk through every major decision, including framing method, post spacing, insulation, and interior finishing. Then grab the 28x32 Pole Barn Plans if you want a proven layout to build from.
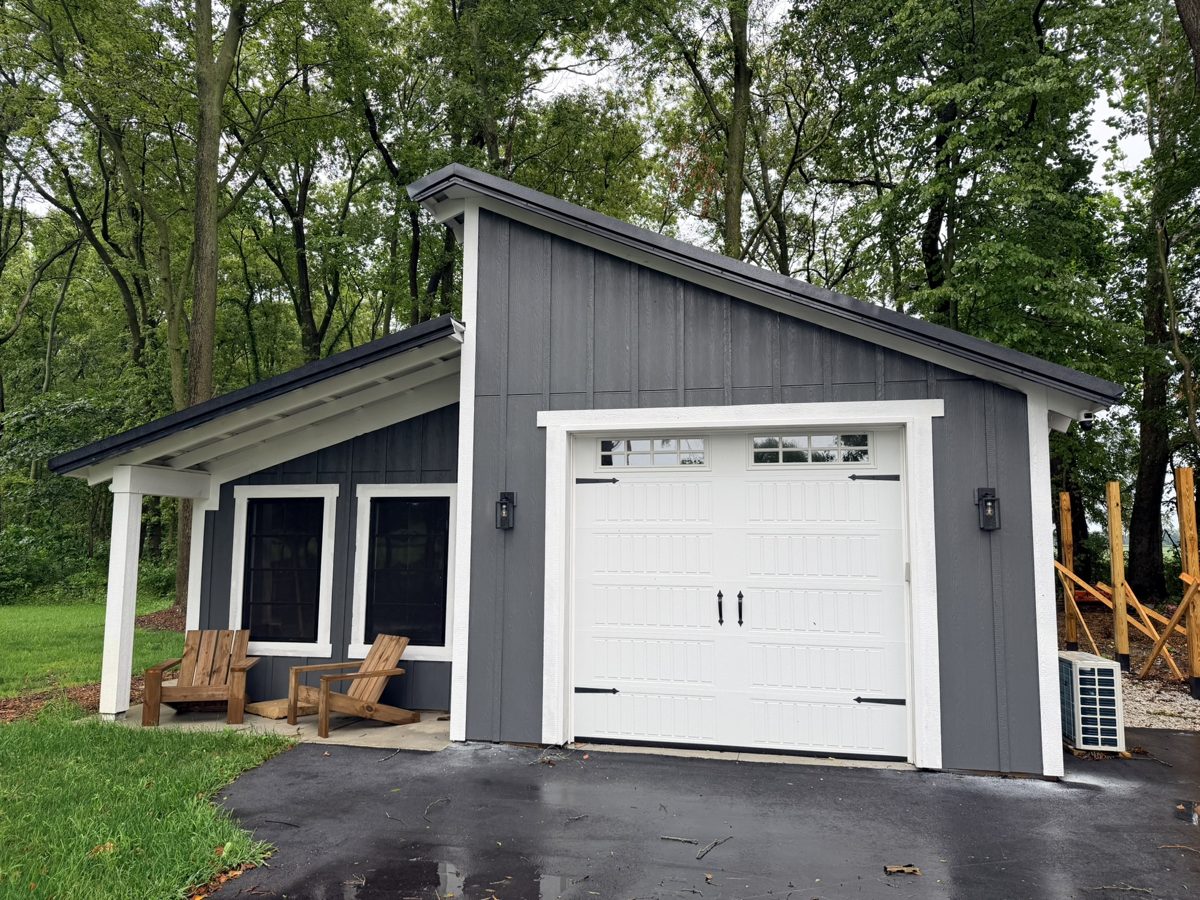
28x32 Pole Barn Plans
The complete plan set from my real build. Two-bay layout, bookshelf girts, optional front and rear porches.