
Real estate agents will tell you to spend tens of thousands remodeling before you sell. Here's what they won't tell you: some of the highest-ROI improvements you can make cost less than $200 and a Saturday afternoon. You don't need a contractor, a big budget, or a construction background. You need a plan, the right tools, and the willingness to do the work yourself.
Here are 10 budget-friendly DIY upgrades that actually move the needle on your home's value — with real cost ranges and honest ROI so you know exactly what you're getting into before you start.
The 10 Upgrades
Upgrade 01
🖌️ Fresh Interior Paint
Nothing transforms a space faster or cheaper than fresh paint. Outdated colors, scuffed walls, and dingy trim are the first things buyers and guests notice — and the easiest to fix.
🔧 What You Need
- Quality roller and angled brush
- Painter's tape
- Primer (if changing dark to light)
- 2 gallons paint per average room
Pro tip: Stick to neutral tones — warm whites, soft grays, greige. They photograph well and appeal to the widest audience. Watch the HomePro Hero painting walkthrough for the exact roller technique that eliminates lap marks.
Upgrade 02
🪛 Update Cabinet Hardware
Swapping out dated brass pulls and knobs for brushed nickel or matte black hardware is one of the fastest upgrades you can do. A full kitchen can be done in under two hours with a screwdriver.
🔧 What You Need
- Screwdriver or drill
- New pulls and knobs (measure existing hole spacing first)
- Template for consistent placement
Pro tip: Match your hardware finish to your faucet and light fixtures for a pulled-together look that feels like a full renovation.
Upgrade 03
📚 Install Floating Shelves
Floating shelves add storage, style, and square footage perception to any room — especially kitchens, living rooms, and home offices. Buyers love built-in storage, and this delivers it at a fraction of the cost.
🔧 What You Need
- Stud finder
- Level
- Drill and wall anchors
- Floating shelf bracket kit
Pro tip: Always anchor into studs for anything that'll hold weight. The HomePro Hero Etsy store carries shelf layout plans with pre-calculated spacing guides so you get symmetrical results every time.
Upgrade 04
💡 Swap Out Light Fixtures
Outdated boob lights, brass chandeliers, and flickering fluorescents are value killers. A modern fixture — even a $60 drum shade from a home improvement store — makes a room feel renovated without touching a wall.
🔧 What You Need
- Voltage tester (non-negotiable for safety)
- Wire stripper
- Flathead and Phillips screwdrivers
- Ladder
Pro tip: Turn the breaker OFF before you touch any wiring. Swapping a fixture is beginner-level electrical — but only if you respect the process. Check out the HomePro Hero channel for the step-by-step fixture swap video.
Upgrade 05
🎨 Add an Accent Wall
A single bold wall — shiplap, board and batten, a deep paint color, or peel-and-stick wood panels — can make an entire room look custom-designed. It's one of the most photographed features in home listings right now.
🔧 What You Need
- Miter saw or circular saw (for wood treatments)
- Nail gun or liquid nails
- Level and tape measure
- Paint and supplies
Pro tip: Board and batten is the highest-impact accent wall you can build for under $150 in materials. The HomePro Hero Etsy store has a board and batten layout plan with exact spacing formulas for any wall width.
Upgrade 06
🌿 Improve Curb Appeal with Landscaping
You never get a second chance at a first impression. Overgrown shrubs, bare mulch beds, and a patchy lawn can knock thousands off a buyer's mental offer before they ever step inside.
🔧 What You Need
- Edger or flat spade
- Mulch (2–3 inches deep)
- Seasonal plants or perennials
- Pruning shears
Pro tip: Fresh black mulch is the single cheapest thing you can do for curb appeal. It makes everything around it look intentional and maintained. Add a few annuals at the front door and you're done.
Upgrade 07
🌡️ Install a Smart Thermostat
Smart thermostats are one of the few upgrades that pay for themselves through energy savings alone — and they're a selling point that younger buyers specifically look for. Installation takes about 30 minutes.
🔧 What You Need
- Screwdriver
- Smartphone for setup
- Your existing HVAC wiring labels (photo the old thermostat before removing)
Pro tip: Take a photo of your existing thermostat wiring before you disconnect anything. Most smart thermostats (Nest, Ecobee, Honeywell) have app-guided installation that walks you through wire by wire.
Upgrade 08
🌬️ Seal Drafts and Air Leaks
This is the most overlooked upgrade on this list — and one of the highest-ROI. Air leaks around windows, doors, and outlets quietly drain hundreds of dollars a year in heating and cooling costs. Fix them in an afternoon.
🔧 What You Need
- Weatherstripping
- Caulk gun and exterior caulk
- Foam outlet gaskets
- Door sweep
Pro tip: Run your hand along window frames and door edges on a windy day to find leaks fast. Anywhere you feel air movement — caulk it or strip it.
Upgrade 09
🚰 Upgrade Your Faucets
A dated faucet in a kitchen or bathroom sends the wrong signal to buyers. A modern pull-down kitchen faucet or a matte black bathroom faucet changes the entire feel of the space — and swapping one out takes less than an hour.
🔧 What You Need
- Basin wrench
- Adjustable pliers
- Plumber's tape
- Bucket and towels
Pro tip: Shut the water off at the supply valves under the sink — not the main. Makes the job cleaner and faster. Match the finish to your cabinet hardware for a cohesive look.
Upgrade 10
🍕 Add Peel-and-Stick Backsplash
A backsplash makes a kitchen look finished. Peel-and-stick tile has come a long way — quality versions look nearly identical to grouted tile and can be installed in a few hours with zero mess and no special tools.
🔧 What You Need
- Tape measure
- Utility knife or scissors
- Level
- Squeegee or credit card for smoothing
Pro tip: Start from the center of the wall and work outward so cuts are symmetrical on both sides. Clean the wall thoroughly with degreaser before applying — adhesion fails on greasy surfaces.
What's the Total Impact?
Done right, these 10 upgrades combined can cost as little as $600–$1,500 total and add significantly more than that in perceived and actual home value. More importantly, they make your home more enjoyable to live in right now — not just when you're ready to sell.
Watch It Before You Build It
Reading about a project and actually doing it are two different things. Before you start any of these upgrades, head over to the HomePro Hero YouTube channel to watch full demonstrations — including real-time cost tracking, tool walkthroughs, and the mistakes to avoid before you make them yourself.
With 55k+ subscribers and real builds documented start to finish, the channel gives you the confidence to tackle these projects knowing exactly what you're walking into.
Ready to Build Something?
Grab a set of printable DIY plans from the HomePro Hero Etsy store — cut lists, layout diagrams, and pro tips included. Built for real projects, not napkin sketches.
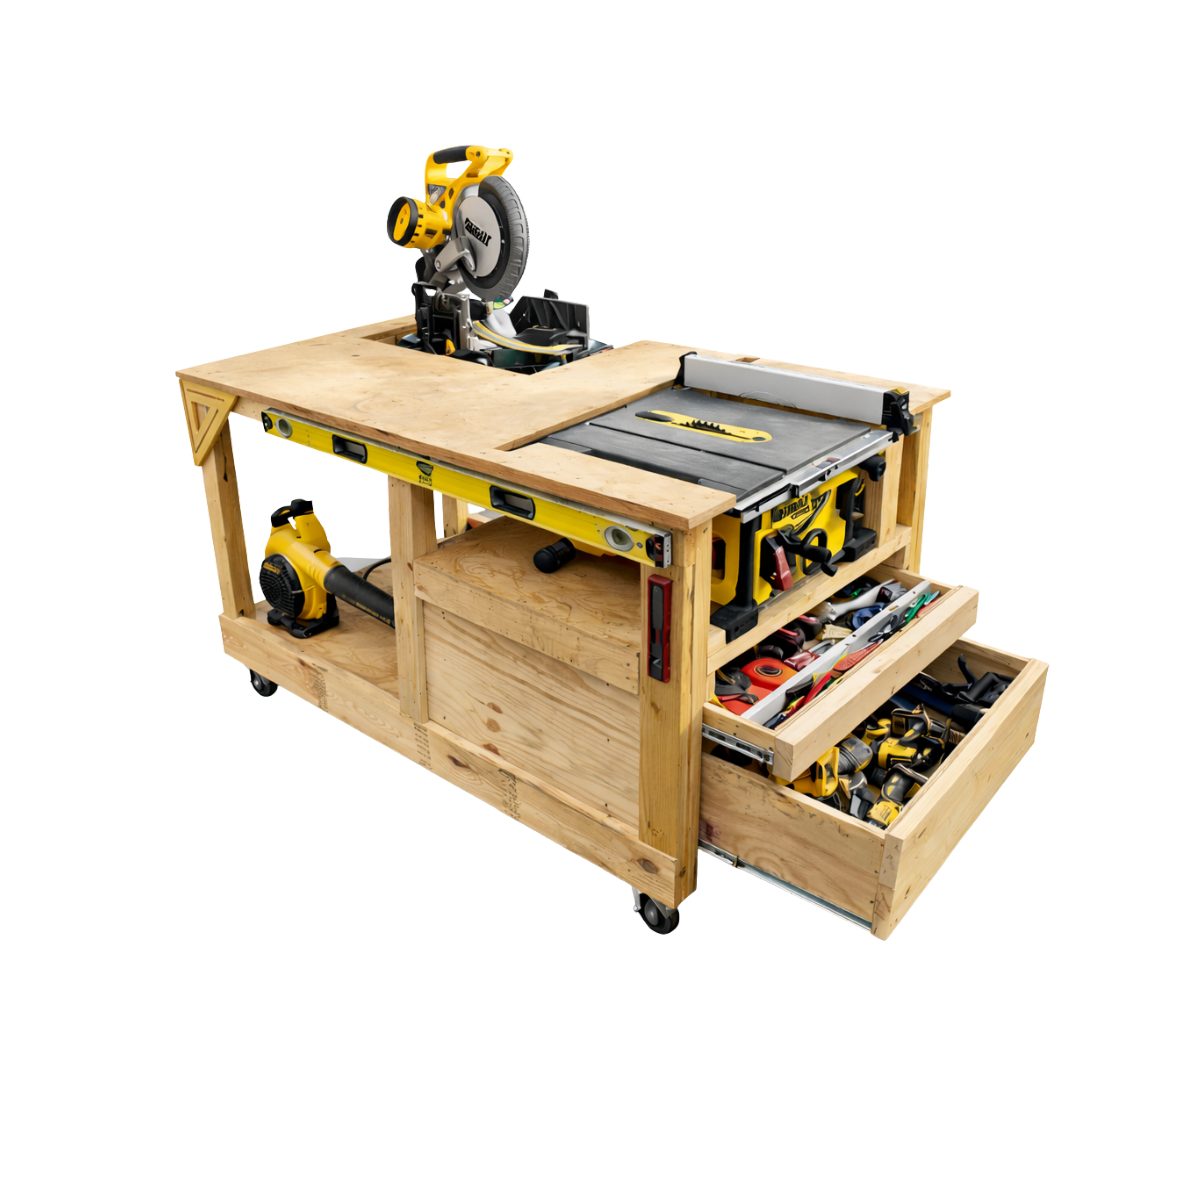
Ultimate Workshop Table Plans
The same mobile workbench from "Build This Workbench for UNDER $200," watched over a million times.